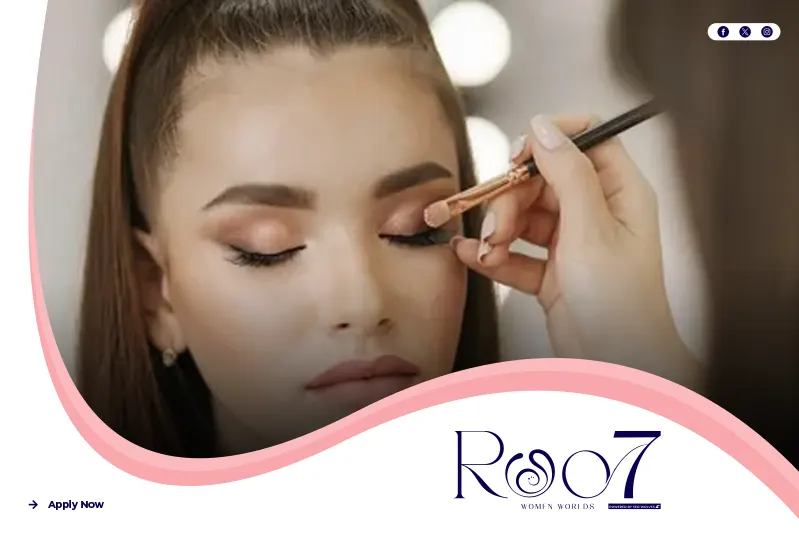
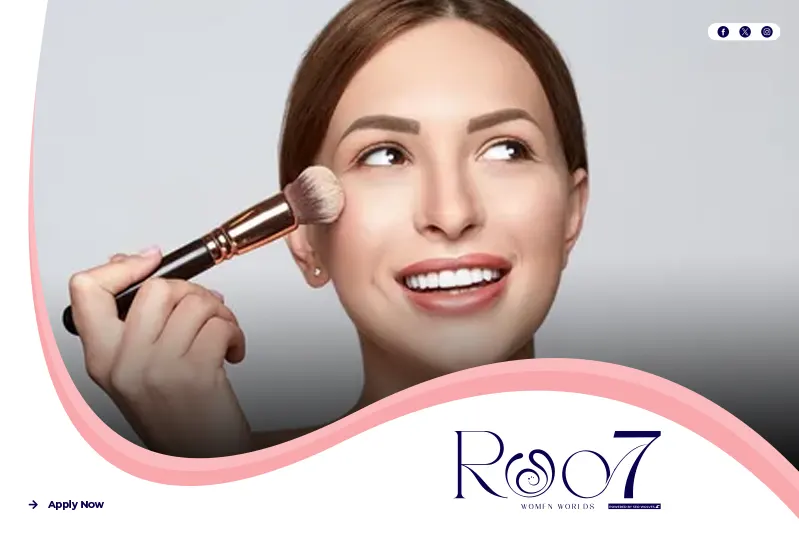
Achieving a truly flawless makeup look is a practice that goes beyond merely applying products; it is a blend of scientific preparation, artistic technique, and a deep understanding of your own skin. The goal is not to mask your natural features, but to enhance your personal radiance, making makeup a powerful tool for boosting confidence and overall Beauty and health. This comprehensive guide details the professional-level tips and strategies used by top makeup artists to ensure a seamless, long-lasting, and magazine-ready finish every time. A great makeup application starts long before the brush touches the skin, emphasizing that Beauty and health are intrinsically linked.

The Master Canvas – Skincare is Your Best Makeup
The most essential secret to flawless makeup is this: makeup only looks as good as the canvas it’s applied to. Neglecting your skincare routine will cause foundation to settle into pores, cling to dry patches, and break down prematurely. A professional makeup artist views the skin prep stage as 50% of the entire makeup application process, recognizing its foundational role in achieving true Beauty and health.

The Critical Pre-Makeup Skincare Steps
- Thorough Yet Gentle Cleansing: Start with a clean slate. Use a gentle cleanser to remove overnight oil, impurities, and any residual skincare from the night before. This ensures your makeup products adhere to fresh skin, not dirt or oil. This step is non-negotiable for anyone serious about high-quality makeup application.
- Strategic Exfoliation: Flaky, dead skin cells are the primary cause of ‘cakey’ makeup. Incorporate a light, liquid chemical exfoliant (like a gentle AHA or PHA) 2-3 times a week, and always prioritize gentle mechanical removal (a soft washcloth) before a major makeup application. Exfoliation ensures the skin is smooth and luminous, which directly contributes to the effortless blending of makeup. For sensitive skin, a gentle enzyme peel can achieve the same makeup-ready smoothness without physical abrasion.
- Hydration, Hydration, Hydration: Hydrated skin accepts makeup beautifully and prevents the skin from absorbing moisture from your foundation, which causes it to look patchy. Use a lightweight, fast-absorbing moisturizer tailored to your skin type. For dry areas, press in a rich cream. For oily areas, stick to a water-based gel. This dedication to skin’s Beauty and health is crucial. Allow your moisturizer at least five full minutes to fully sink in before moving to the next step, ensuring it doesn’t thin out the subsequent layers of makeup.
- The Primer Perfection: While great skin can sometimes negate the need for a primer, a professional makeup look demands it. A primer acts as a mediating layer between skincare and makeup, filling in pores and fine lines for a glass-like finish.
- Pore-Filling Primers: Use only in the T-zone and areas with texture. Pro Tip: Only push this type of primer into the pores; do not rub it all over, as this can cause pilling.
- Hydrating/Illuminating Primers: Apply all over for a radiant base, enhancing overall Beauty and health. These often contain subtle pearlescent particles that refract light, creating a glow that shines through the foundation.
- Mattifying Primers: Ideal for controlling excess oil where needed to ensure the makeup stays put. For maximum oil control, press a blotting sheet or tissue gently over the mattifying primer before foundation application to remove any excess slip.

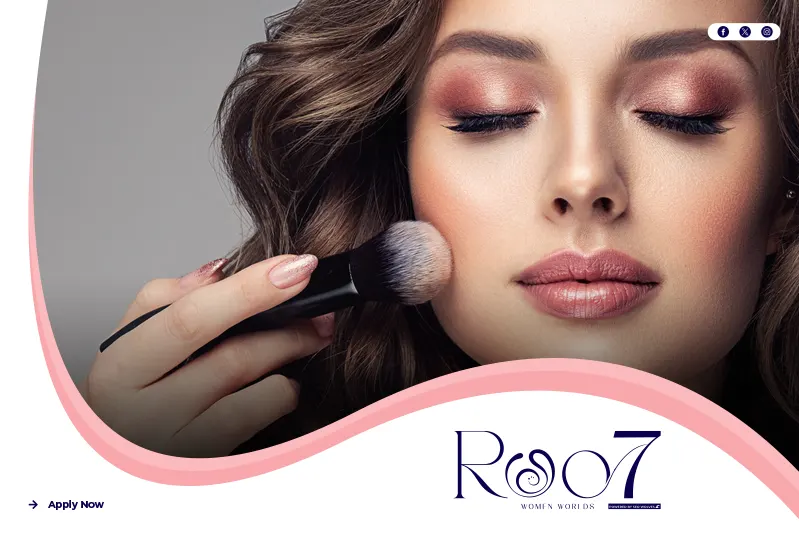
The Base – The Art of Seamless Blending
The foundation and concealer application is where the ‘flawless’ look is truly built. The pro secret here is light layering and meticulous blending. The goal is for your base makeup to look like a hyper-realistic second skin, not a mask.

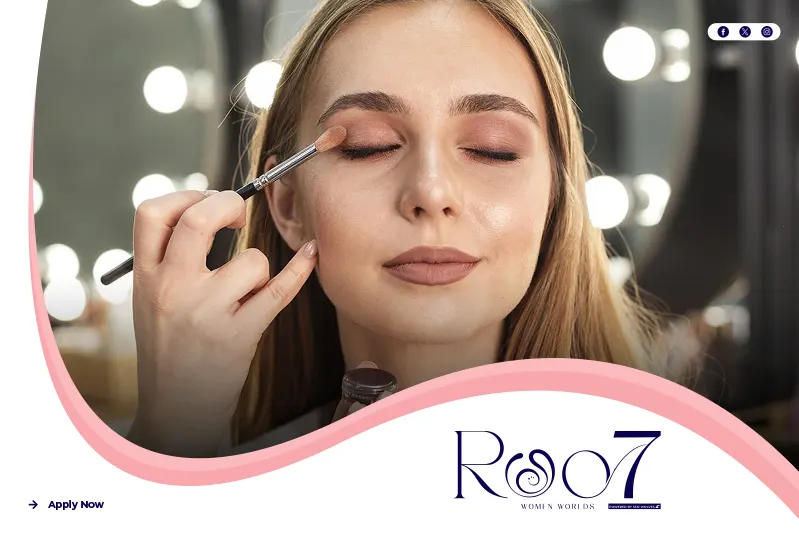
Foundation Techniques: Less is Always More
- Inside-Out Application: Apply your foundation strategically. The center of your face (around the nose, forehead, and chin) typically requires the most coverage due to redness and discoloration. Start applying the makeup here and blend outwards. Use a smaller amount of product as you move towards the hairline and jawline, which helps prevent the dreaded “foundation line” and ensures a more natural transition. This smart application preserves the skin’s natural Beauty and health without heavy makeup.
- The Stippling and Buffing Method: Never smear or wipe foundation. Use a dense, flat-top brush or a damp makeup sponge (beauty blender) and apply the product using a stippling (tapping/bouncing) motion. This pushes the makeup product into the skin, not just on top of it, ensuring seamless adhesion and maximizing the longevity of your makeup. Follow with light, circular buffing motions to blur the edges. Always use the foundation brush in short, controlled movements, never long, streaky strokes.
- Custom Color Cocktails: Professional makeup artists rarely use a foundation straight from the bottle. They custom-mix shades to match the client’s neck and chest, often mixing a drop of a slightly warmer shade with a cooler one to achieve perfect harmony with the individual’s undertones. They also mix in a drop of liquid highlighter or facial oil for a customized finish that enhances the skin’s natural Beauty and health and achieves a ‘lit-from-within’ quality in the base makeup.

Concealer and Color Correction
- Strategic Color Correction: Before concealer, address severe discoloration. This is the application of color theory to makeup. Use a peach or orange corrector for blue/purple dark circles, and a green corrector for intense redness (like around the nose or active breakouts). Apply the corrector sparingly—just enough to neutralize the color—and then layer a flesh-toned concealer over it. This neutralization means you will need far less concealer and less heavy makeup over the top.
- The Triangle of Light: For under-eye brightening, apply concealer in an inverted triangle shape, extending from the inner corner, down to the side of the nose, and back up to the outer corner. Gently blend with a small, fluffy brush or the tip of a damp makeup sponge. This technique draws light to the center of the face, making the eyes look lifted and refreshed—a critical element of perceived Beauty and health.
- Spot Concealing with a Tiny Brush: For blemishes, use a highly pigmented, thicker concealer and a tiny, pointed brush. This precision tool allows you to deposit product only on the flaw itself, minimizing the amount of makeup used on the surrounding healthy skin. Press the concealer gently onto the blemish and blend only the very edges to maintain maximum coverage on the area needing correction.

Dimension and Sculpting – The Power of Layers
Once the base is set, the next level of pro makeup involves layering creams and powders to create dimension, warmth, and structure. This technique, known as layering for longevity, is a hallmark of professional makeup application.
Cream Contour, Blush, and Highlight
- The Cream Layer First: Apply all cream products (contour, blush, and highlight) before setting with powder. Cream products melt into the base makeup for a skin-like finish. This creates the foundational color and shadow.
- Upward Placement for Lift: Apply cream contour and blush with a focus on lifting the face. Contour should be applied above the hollows of the cheeks, following the natural shadow created by your bone structure, and blended upward towards the temples. Blush should be placed high on the cheekbones, lifting the entire effect. For an extra modern, snatched look, apply a small amount of cream contour along the outer edge of the brow bone and blend up into the hairline—this frames the face beautifully and demonstrates expert makeup technique. This technique is key to modern Beauty and health standards.
- Blending Cream with Your Foundation Brush: After applying cream products, lightly go over the edges with the same damp makeup sponge or brush you used for your foundation. This tool still has a slight amount of base product, which effortlessly marries the contour/blush shades into the foundation, eliminating harsh lines and making the makeup look seamless.

Setting the Base
- Targeted Powder Setting (The ‘Bake’ and ‘Set’): Do not powder your entire face unless your skin is exceptionally oily. Only set the areas that crease or get shiny: the under-eye area, the T-zone, and the smile lines.
- Baking: For extreme longevity in the under-eye area, use a fluffy powder puff to press a generous amount of translucent powder onto the area, letting it sit for 3-5 minutes before lightly dusting it off. This ‘baking’ locks the concealer in place. Pro Tip: Use a separate, slightly yellow-toned powder for the under-eye area to combat any residual darkness, amplifying the brightening effect of the overall makeup look.
- Light Setting: Use a large, fluffy brush and a very small amount of powder to gently dust the remaining T-zone. This ensures the majority of your face retains a natural, luminous finish—the ultimate goal for modern Beauty and health.
- Layering Powder Over Cream (Powder-Lock): Once the base is set, gently layer a powder bronzer over the cream contour and a powder blush over the cream blush. This technique intensifies the color, provides maximum longevity, and ensures your dimensional makeup doesn’t fade throughout the day. This step is the “powder-lock” that secures the cream product. Finish with a delicate dusting of powder highlighter over the cream highlight, using a fan brush for a diffused, subtle glow, rather than a harsh stripe.
Eyes and Lips – Precision and Polish
The final steps focus on the eyes and lips, which require a careful hand to ensure polish and longevity. Mastering these details is crucial for a complete makeup look.
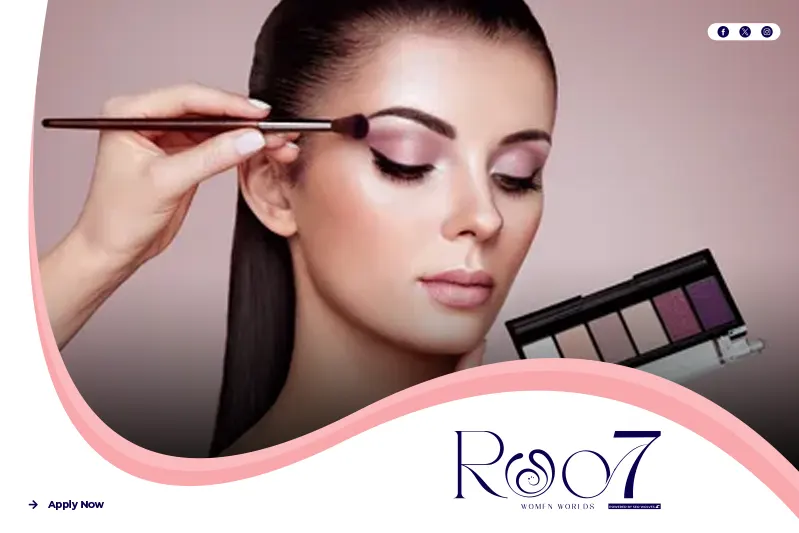
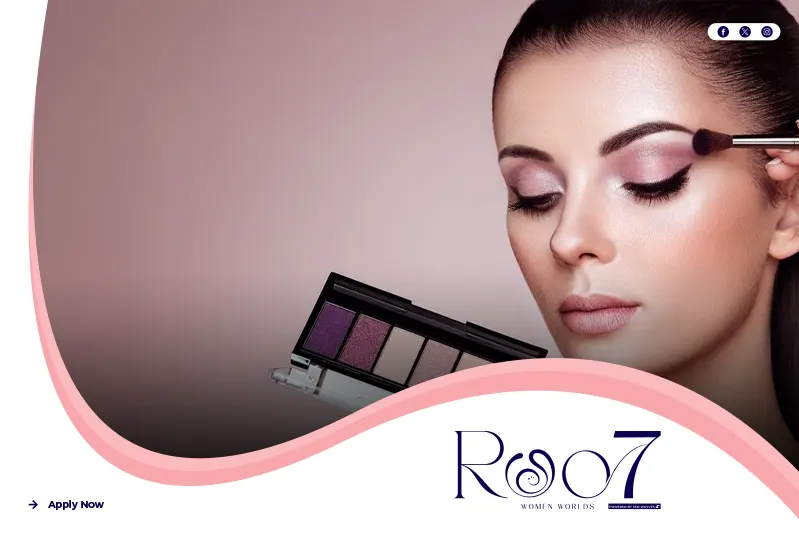
Professional Eye Makeup Secrets
- Eye Makeup Before Foundation: Always complete your eye makeup before your foundation. This simple pro tip prevents eyeshadow fallout from ruining your flawless base, saving you time and ensuring your final makeup look is clean. If fallout occurs, simply wipe it away before starting your base.
- The Inner Corner Lift: A small touch of shimmering white or champagne eyeshadow in the inner corner of the eye is a powerful makeup technique that instantly makes the eyes look wider, brighter, and more awake—a key sign of vitality and Beauty and health. Apply a hint of the same shimmer on the center of the lid, directly above the iris, to give the eyes a rounded, captivating look.
- Mascara Base: For maximized volume, apply one light coat of lengthening mascara, let it dry for a minute, and then apply a second, thickening coat. Wiggle the wand at the base of the lashes and pull through to the tips. This two-step layering technique, often using two different mascara formulas, creates a false-lash effect without the commitment of falsies. Additionally, only apply mascara to the lower lashes if it suits your eye shape; for many, skipping it prevents smudging and keeps the focus on the upper lash line, ensuring cleaner makeup.
- Invisible Tightlining: To make lashes look thicker without visible eyeliner, use a waterproof black or brown pencil to tightline—meaning, color the upper water line (underneath the upper lashes). This subtle makeup trick adds depth and definition right at the root, making your lashes look denser and your eyes more defined.

The Perfect Pout
- Lip Scrub and Hydration: Flawless lipstick requires a smooth surface. Use a gentle lip scrub and balm 10 minutes before applying your lip makeup to banish flakes and maximize the comfortable wear of any lipstick or gloss. This dedicated lip care enhances your overall Beauty and health.
- The Lip Liner Trick: Lip liner is essential for definition and preventing feathering. Line your lips, then fully fill them in with the pencil before applying lipstick or gloss. The liner acts as a gripping base for the lip makeup, significantly extending the wear time. Pro Tip: To create the illusion of fullness, slightly overline only the center of the top and bottom lip—never the corners—for a soft, natural enhancement.
- Tissue Blot and Reapply: For maximum longevity, apply a coat of lipstick, blot the excess with a tissue, and then apply a second coat. This locks the pigment in place and creates a highly durable, opaque finish, maintaining your perfect makeup look for hours. For even more lasting power, hold a single ply of tissue over your lips after the first blot, and gently dust translucent powder through the tissue before the final lipstick application.
Locking It In – The Finishing Touches
A professional makeup job is incomplete without a seamless, long-wear finish. This final step is what brings the entire look together, melting the layers of makeup into a cohesive, skin-like finish that epitomizes true Beauty and health.

Setting Spray Application
- Melting the Makeup: Use a good quality setting spray to eliminate any powdery look and fuse the multiple layers of makeup (cream and powder) into one smooth layer. Hold the bottle at arm’s length and spray in a “T” and “X” motion across the face.
- The Setting Spray Sandwich: For the most demanding, all-day wear (like bridal or editorial makeup), pros use a setting spray between layers. Spray a thin layer after primer, after foundation, and once more after all powder products. This “sandwich” technique provides unmatched longevity for your flawless makeup.
- The Sponge Press: After the final application of setting spray, take your damp, empty makeup sponge (the one used for foundation) and lightly bounce it across your entire face one last time. This final press helps the setting spray further fuse the makeup layers and absorb any excess moisture, creating a unified, Beauty and health-focused finish that looks like skin, not product.
By integrating these professional makeup tips—from foundational skin prep that prioritizes Beauty and health to strategic layering and precision blending—you can elevate your daily routine and achieve a stunning, flawless makeup look that lasts all day. The commitment to quality and technique is what truly separates everyday makeup from a professional, enduring finish that highlights your natural radiance and Beauty and health.